How to Connect YI Camera to WiFi? A Brief Guide
Generally, YI cameras are designed with the latest wireless technology and in-built high-accuracy motion detection. Similarly, to use these surveillance devices, it is necessary to understand How to Connect YI Camera to WiFi. These cameras work with Wi-Fi 6 technology. However, to use the standard features of these security gadgets, you need to link them with available home networks.
Furthermore, there are two ways that you can use to connect your surveillance devices to the internet, i.e. web GUI & the app. Similarly, if you want to explore more about How to Connect YI IoT Camera to WiFi, then walk through this brief post. Here, you find detailed information for each process and more.
What are the quick steps for connecting the YI camera to home Wifi?
Moreover, to connect the YI camera to the wireless network, you initially need to access its admin portal and then you can configure it. Further, you can opt for the computer or the mobile app procedures for connecting the YI camera to WiFi efficiently. Here, we share the detailed steps to access the network on your wireless camera to make the most of it. Let’s take a look:
Connect YI Camera to WiFi using the YI Home PC app
- First and foremost, power on your security gadgets.
- Now, connect the Windows system/laptop to the available home network.
- Next, check that you have an updated version of the YI Home PC app on your computer.
- After that, access the admin account by entering the valid admin username/email, and password in the given fields.
- Besides this, if you are a new user, then install the app and create a new account first.
- After logging in, check that your camera is added to the app otherwise click on the “+” icon to add it to the app.
- After that, check the bottom of the app and tap on “I heard Waiting to Connect”.
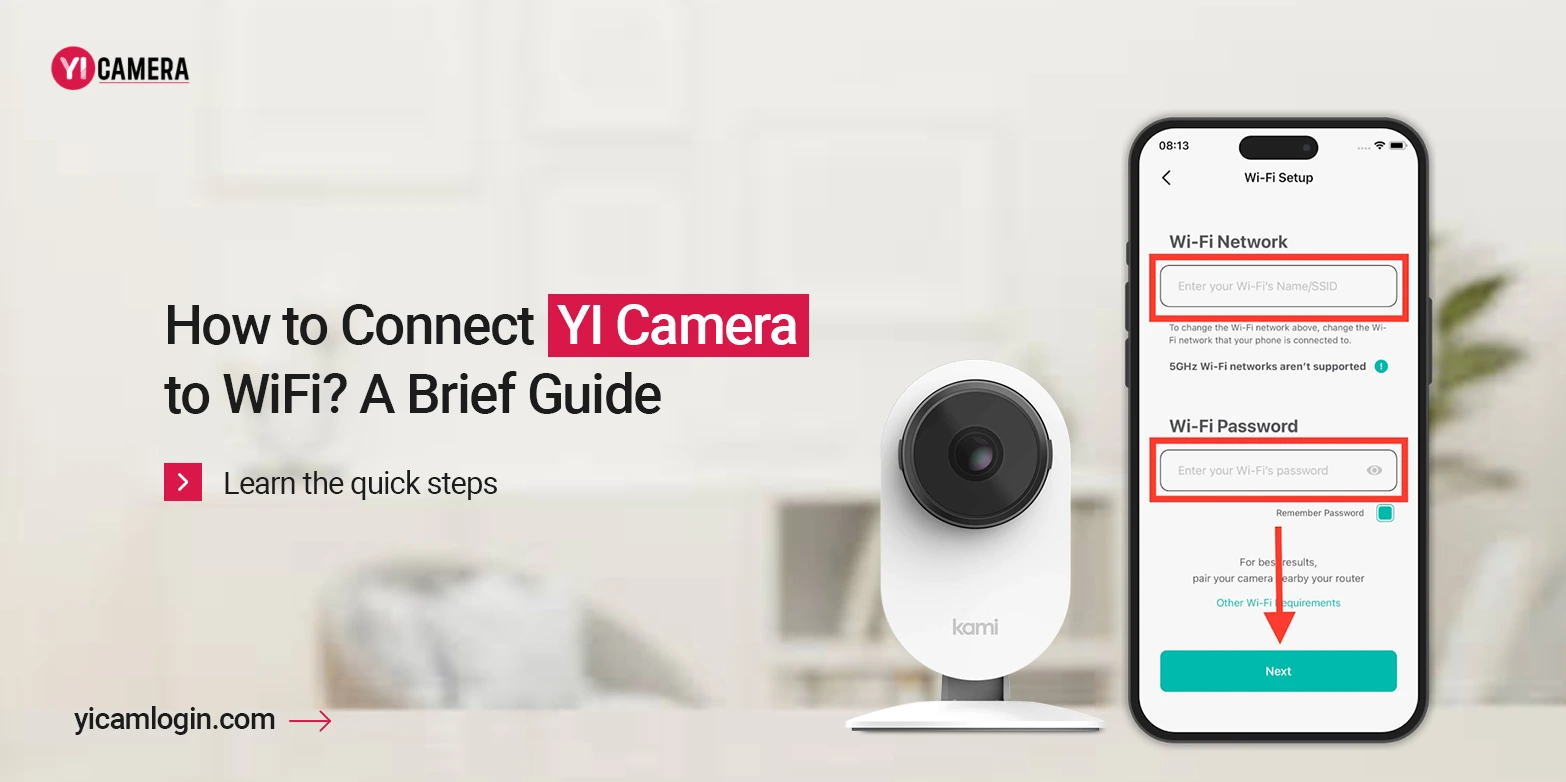
- Now, select the Connect to Wifi option and choose your home network by tapping on “Please choose wifi.”
- Hereon, enter the password for the chosen network.
- Again, scan the QR code by facing directly to the camera and wait till you hear the “QR code scan is successful.”
- Further, click on Next and you see the Retrieving Pairing Status notification on the screen.
- Wait patiently, this will take 1-2 minutes to complete.
- At last, you now understand How to Connect YI Camera to WiFi efficiently.
Configuring the camera via the YI Home application
- Initially, ensure that your YI cameras are powered on.
- Now, connect the smartphone to the existing home network by accessing its wifi settings.
- Further, launch the YI Home app and mention the valid admin details on the login page.
- If you are a newbie to this app, then click on Create a New Account or SignIn option.
- After logging in, you land on the HOME Menu of the wireless camera.
- Here, choose the camera that you want to connect under the Select Devices option.
- Further, click on the “I heard Waiting to Connect” option at the bottom of the screen.
- Next, select the “Connect to wifi” option and enter the password for the network you opt for.
- Now, directly face the camera to the QR code to scan it and wait till you hear the “QR Code scan is successful” voice message.
- Afterward, click on Next, and then the “Retrieving Pairing Status” popup appears on the screen.
- Here, wait for 2-3 minutes till you hear the voice prompt as “You can start using your camera now.”
- Finally, you now explore How to Connect YI IoT Camera to WiFi in detail.
Wrapping up
All in all, this brief post guides you through the detailed process of How to Connect YI Camera to WiFi through multiple ways. Additionally, you find the detailed steps for each procedure here, so choose what you find easy. If you are seeking more assistance or expert tips for your queries, then connect with us here!